OBS - the secret weapon against boring video conferences

Publication date

Thank you that many of you are now proud owners of a headset. It was unbearable how you were screaming at your computers. Now normality returns with the video conferences and we should get ready for the next level.

tl;dr: The boss level is still far away.

With OBS Studio, we can make video conferences a little more visually exciting. At the same time, OBS gives us greater flexibility for our own video conference online presence. Whether in a video call or in a talk/webinar.

IST

You know this? Looking at the same section of the participants' pictures for hours on end? Sitting motionless in the same corner? For days on end? Crossed with other observations of the last few months, there is even a technical term of its own: zoom fatigue. I have already been able to get to know this technical term for myself with Jitsi or BigBlueButton.

Some of you use the webcam built into the laptop and sometimes walk around during the conference with the laptop in their hands. This is very helpful for me, because it gives a bit of variety in the picture. Not only of you as a person, but also with the background. If you shake too much, it has also led to bouts of seasickness for me :)

Take back control

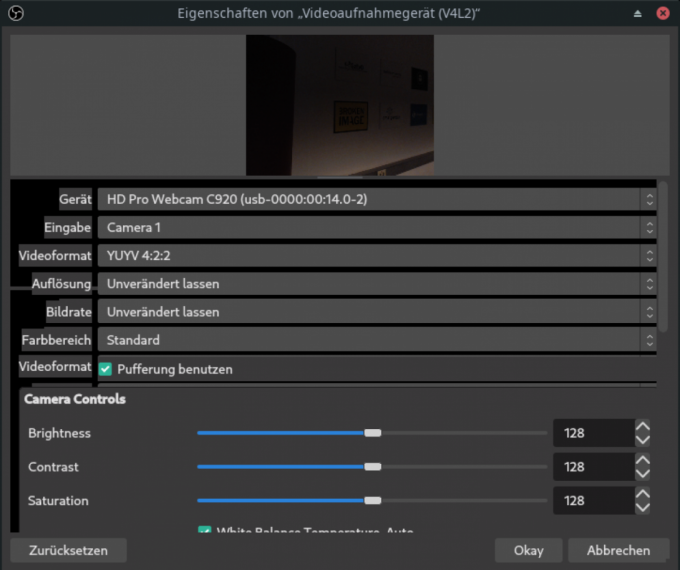
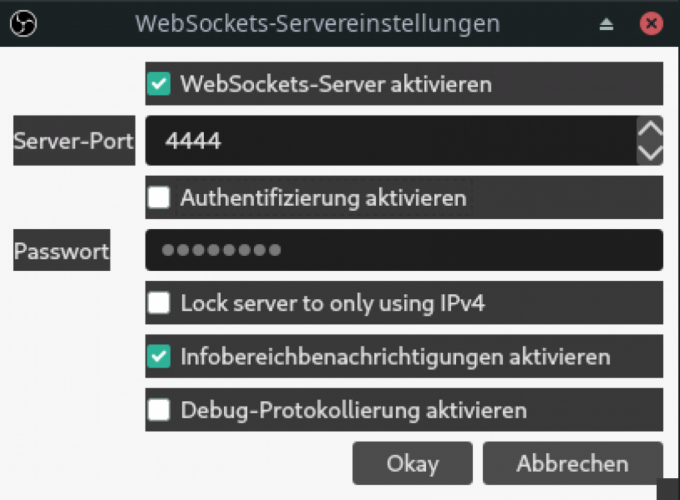
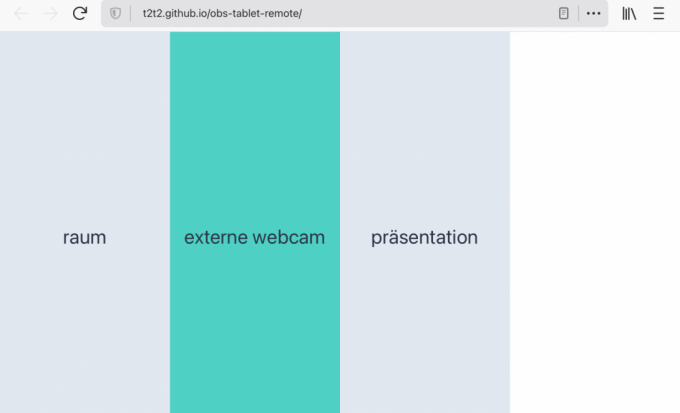
Very few video conferencing solutions allow more than one simultaneous image source. If you have two or more cams to choose from, you have to stop one video image and reconnect for the other. Not so nice and always connected with interruptions. This is where a wonderful piece of free software comes into play:

OBS Studio (hereafter referred to as OBS) is available for download for Linux, Mac and Windows. In conjunction with "virtual cam" and "Websockets", you get a setup in your hands with which you can put yourself in the (video) limelight in a wonderful way.

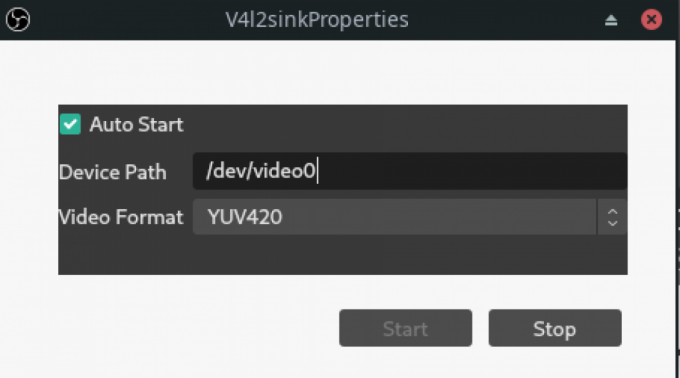
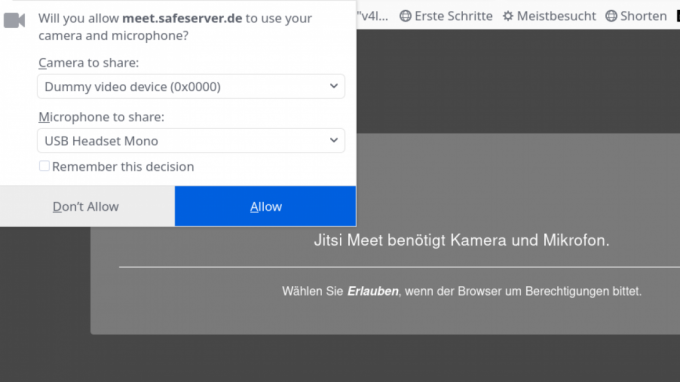
In short: the output of OBS becomes the input for the video conference.
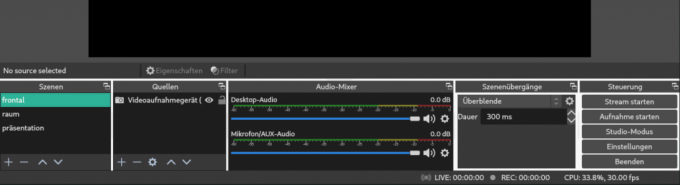
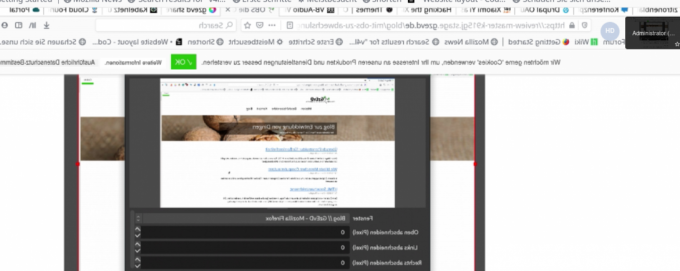
Basic structure OBS

Admittedly, the interface does not win any beauty prizes. For starters, let's focus on the elements at the foot of the application.

Scenes

You can create as many scenes as you like and change them during your conference. Each scene contains any number of different sources. So make sure that you give the scene a unique name. The scenes get meaning again in the context of the websockets. I name the scenes e.g. Frontal, Frontal-with-presentation, Total, Presentation.

Sources

In each scene, you will now define the sources used there. For now, let's focus on Video Capture Device and Window Capture. The video capture device is... correctly your webcam. If you have more than one, you can choose the right one from the dropdown. You should also use a unique name here before saving.

The saved sources are provided with a frame, which you can touch with the mouse and change in size and position. Since you can store multiple sources in a scene, layers now come into play. Sources behind sources may no longer be visible. Using the context menu of the source (right mouse click) you can move the layer in order. This is helpful if you have selected your presentation via the window recording and want to superimpose your webcam image.

In the window capture, all open application windows are available to you individually. Whether you want to select the presentation window of your presentation software, an open PDF file or a specific browser window. After you set the application window as the source and switch from OBS to the application window, you will also see the mouse movement in the preview. You must also have the application window active in the foreground so that you can operate the application with shortcuts, mouse or keyboard input.

If you want to share the whole screen instead of a single window, you use the screen capture as source. For my setting, this only makes sense when using at least two screens. I always get confused with all the apps on one screen. Most of the time my virtual desktop is not very tidy either :)

Keyword screens

If you can, connect at least one more monitor. This helps to arrange all the windows side by side in a sensible way or even to create a strict separation between the presentation windows and the OBS windows. If you can't connect a second monitor, get familiar with the window clutter. Look forward to the Websockets section, as you can then at least switch scenes with a second device.

Audio is the king

Actually, now would be the time to cover the topic of audio. However, it is so extensive that we will cover it in a separate post. To achieve the goal of this post (a more varied picture in video conferences), we will ignore the audio settings in OBS and switch directly to live mode.

OBS out in BBB in

Enough scenes configured and the possibilities of OBS played through. Now let's see if we can get this into the video conferencing software. So the output of OBS as input for BigBlueButton or Jitsi. In OBS go to the settings at tools and select virtual cam/v4l2sink and activate the virtual camera.

Then switch to the video conferencing software (e.g. https://meet.jit.si) and confirm the (new) virtual cam as webcam when establishing the connection. For the microphone, select the microphone of your choice.

Once you are connected, switch to OBS and click through the scenes. If everything worked right the first time, you will now see the scene changes in jitsi. You don't have to reconnect if you want to do a presentation, because the existing connection is used for that.

Get a second person in the conference and play through the audio/video. You're bound to find something that doesn't work right off the bat.

Your own image director

Another wonderful feature of OBS is Websockets. Once you have this enabled in the Tools menu, you can remotely control OBS from another computer, pad, smartphone.

Image
Screenshot: OBS
Licensed under All rights reserved

Screenshot: OBS interface - Websockets configuration window

The remote device must be in the same network. There are two frontends that you can easily call or install. Open this frontend in a browser on your remote device and enter the local IP address of the OBS computer. The websockets are available on port 4444. If everything worked, you will see big tiles with the names of the scenes. A click on the tile changes the scene.

I use e.g. a pad for it, which was put down click-ready by me.

Of course, you can also make these websockets available to the Internet, so that someone else can take over the image control at another location, but I'll only mention that in passing.

Lessons learned

I gave some talks at virtual conferences this year. I described my setup above. Which brought me to new challenges: I was now not just a speaker giving a talk. I now also had to keep an eye on several cameras. And then I was my own director, trying to set the suspense through different perspectives. Initially, I was pushing all the buttons wrong, looking at the wrong camera, or realizing that I still needed to arrange the screens in a completely different way. Partially my audio setting was not right and I could not receive audio. Also, the situation of speaking into an empty (screen) room was unfamiliar.

But: that won't go away. Better get used to it faster :)

Focus

Focus