I can still remember how we spent a lot of money on office chairs back then (at least in my opinion). The fact that they have now served us well for so many years and have already survived several moves is proof of this: The investment has paid off.
Recently, however, the signs of wear and tear have become increasingly obvious. At first we ignored them, but it became annoying that the yellow upholstery was crumbling and the foam residue was regularly scattered on the floor after a long day's work.
Throw it away and buy a new one? Not an option. After all, the right to repair is one of our values. And since it ‘only’ took three chairs before we finally figured out the trick to completing the whole project in less than 30 minutes per chair, we've documented the crucial steps for you.
- Image
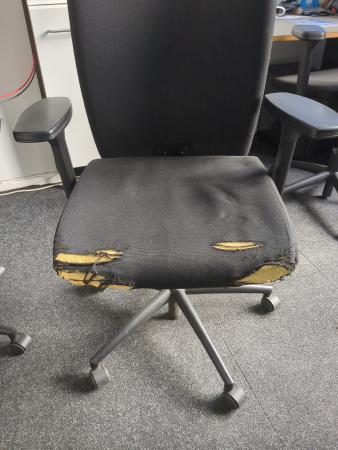 Worn office chairLicensed under Creative Commons Attribution Share Alike 4.0 International by Stephan Luckow
 - Image
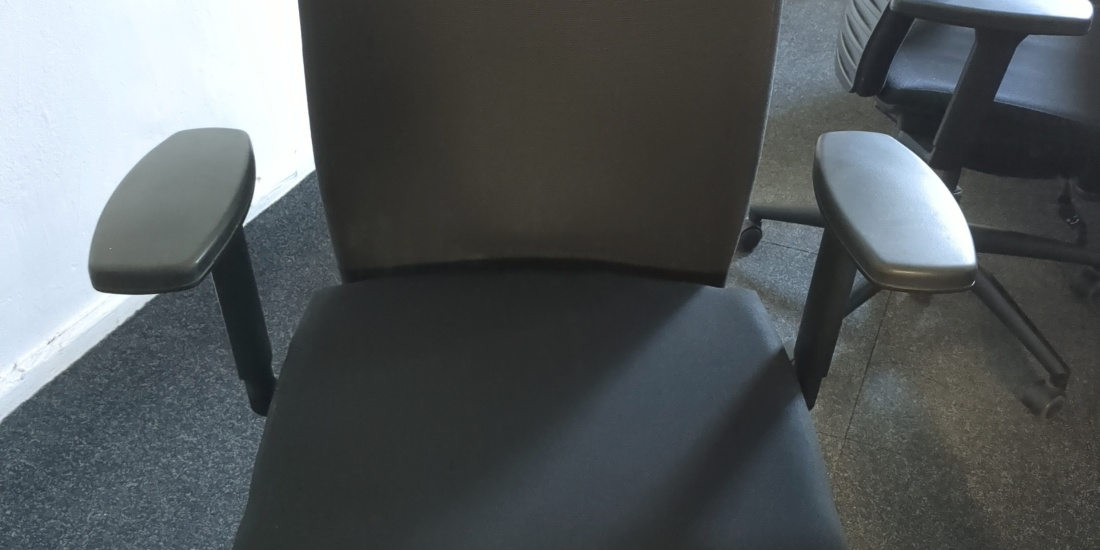
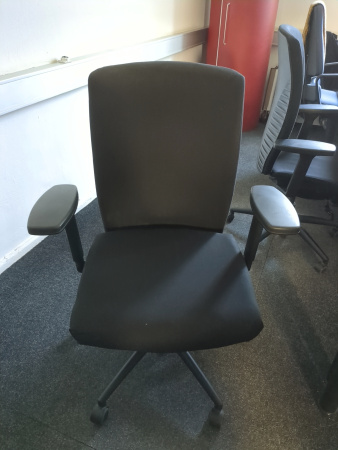 Office chair repairedLicensed under Creative Commons Attribution Share Alike 4.0 International by Stephan Luckow
- Image
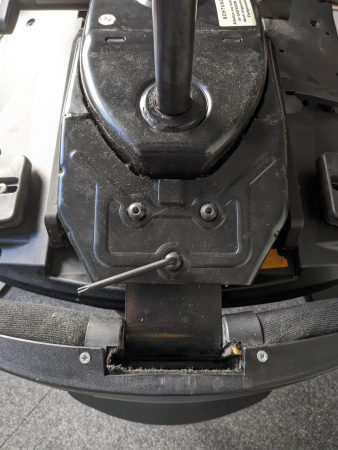
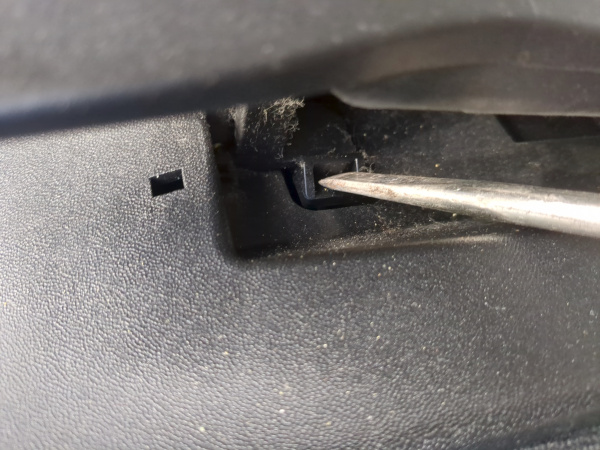
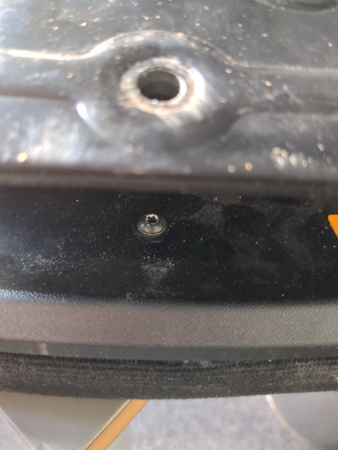 Inaccessibility at its finestLicensed under Creative Commons Attribution Share Alike 4.0 International by Stephan Luckow
 - Image
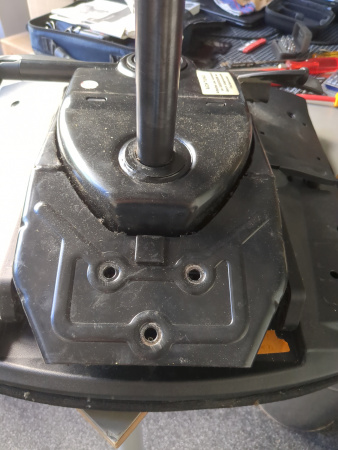
 Fixing screws for the backrestLicensed under Creative Commons Attribution Share Alike 4.0 International by Stephan Luckow
 - Image
 Fastening the armrestsLicensed under Creative Commons Attribution Share Alike 4.0 International by Stephan Luckow
Once the backrest and armrests have been dismantled, the entire base can be removed. Pay attention to the two stoppers on the left and right, which normally prevent the chair from accidentally detaching from the base during operation. So the first time, I needed two extra hands to do the trick with two stoppers, a handle and manual force. With the second chair, I figured it out:
- Pull the chair all the way forwards.
- Press/release the right-hand stopper.
- Wedge a screwdriver between your stomach and the chair and at the same time release the catch - and apply a little force.
In short, you can do this on your own.
- Image
 He'll be off in a minuteLicensed under Creative Commons Attribution Share Alike 4.0 International by Stephan Luckow
 - Image
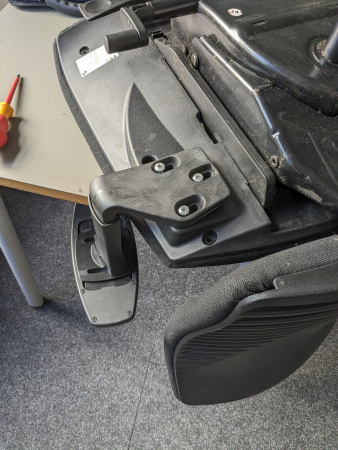
 First on the right ...Licensed under Creative Commons Attribution Share Alike 4.0 International by Stephan Luckow
 - Image
 ... and now on the leftLicensed under Creative Commons Attribution Share Alike 4.0 International by Stephan Luckow
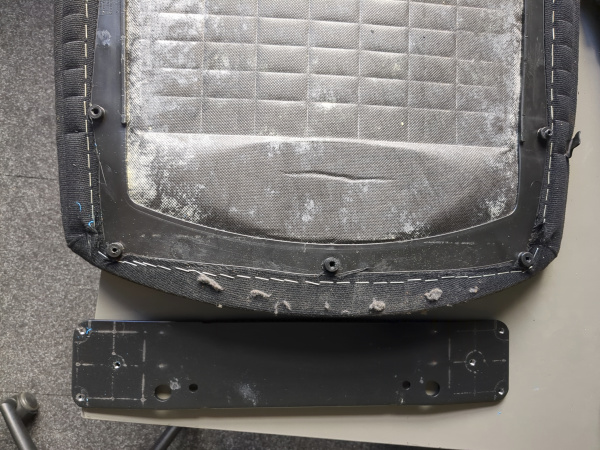
Once the base has been removed, the dust bunnies from recent years are revealed. A good opportunity to tidy up there too. Now a few more screws need to be loosened, including the one that was so difficult to access.
Also note the piece of metal that suddenly appears under the plastic cover. Yes, I neglected to reinstall it on the first chair, and it's necessary: it's the counterpart for the armrest screws.
- Image
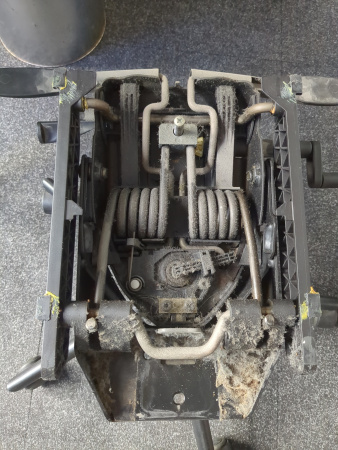 The term ‘woolly mice’ is still the nicest euphemismLicensed under Creative Commons Attribution Share Alike 4.0 International by Stephan Luckow
 - Image
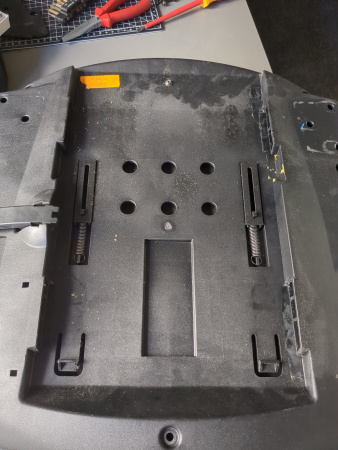 Just a few more screwsLicensed under Creative Commons Attribution Share Alike 4.0 International by Stephan Luckow
 - Image
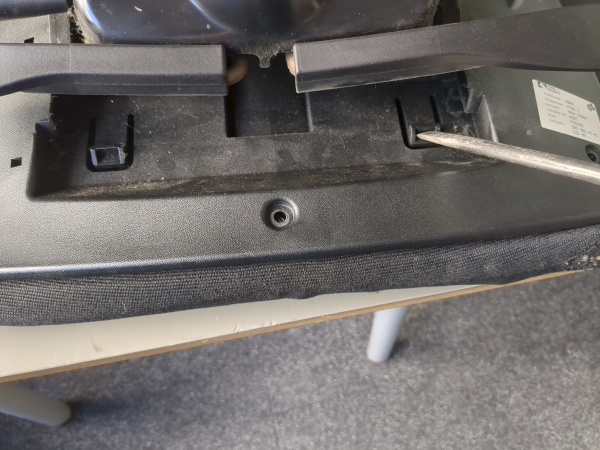
 Remember the position of the metal!Licensed under Creative Commons Attribution Share Alike 4.0 International by Stephan Luckow
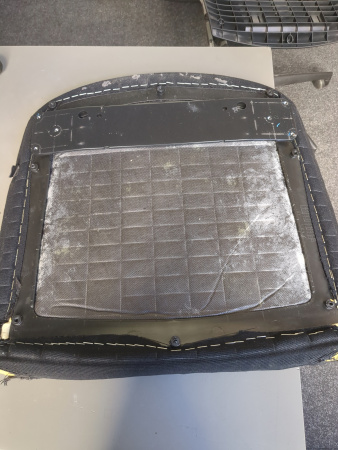
Now all that remains to be done is to remove all the staples, dispose of the old fabric, stretch the new fabric and reverse all the dismantling steps. The tacker is an indispensable friend.
Your reward will be a newly upholstered swivel chair.
- Image
 Feels like 100 staples hold the fabricLicensed under Creative Commons Attribution Share Alike 4.0 International by Stephan Luckow